An account of the battle from the point of view of the perfidious Hessian mercenary lapdogs to the Hanoverian crown can be found at https://andysboncingblog.blogspot.com/2021/08/the-battle-of-st-germanus-of-auxerre.html?m=1
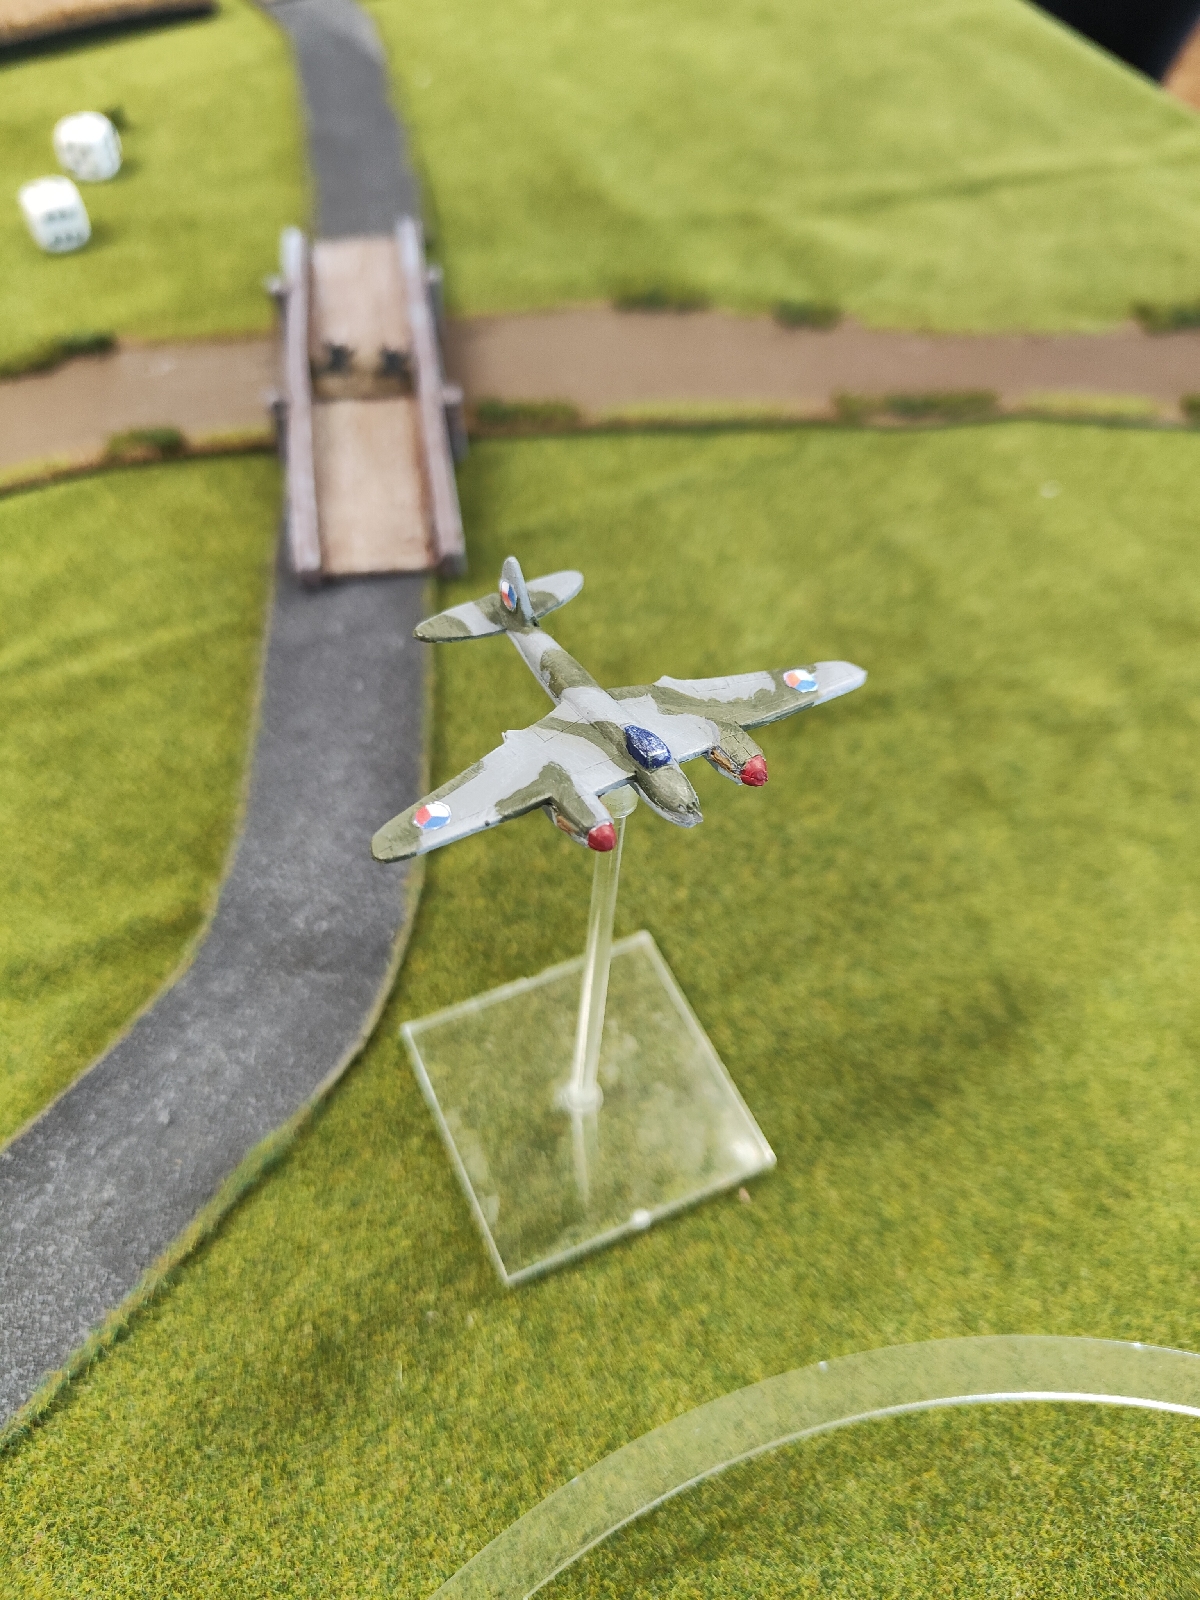
Day 2 started with the dizzying highs and crashing lows of the CWC 2 Command system. The JS3 battalion attempted to get into the fight with the first dice rolls of the day. A double 1 command bonus! They then rolled a command blunder on the next roll! More airstrikes we're called in by both sides. I don't recall any targets being destroyed, but suppressions caused the advancing Soviets to slow down their advance. the Mig 15 was neither use nor ornament! overall view of the action on day 2. The JS3s finally get into action. The battle raged on, with the Soviet T44s on the right flank making more ground and trading shots with the Czech armour. The infantry on the left finally began to benefit from supporting fire from the JS3s and some brave riflemen were seen to be shouting "urrah!" and charging some of the entrenched infantry. Break points were perilously close to being reached and brea...
DAY 1 The Soviet aim was clear- advance across the board, reduce enemy forces but bypass strong resistance and continue the push to Prague. The Soviet forces available were: 224 Motor Rifle Regiment Mech battalion 2 HQs 3 companies of 6 infantry + 3 M3 half tracks AA M14 half-track with quad .50cals Support company of 2 82mm mortars and 1 DsHK HMG Motor battalion As above, but mounted in trucks 2 battalions of T44 tanks. 9 tanks + 1 HQ per battalion. The latest in Soviet armour technology and basically what you would expect a tank to look like if a T55 and a T34 had a baby. Recce- elements of the regimental reconnaissance force- 3 M3 half tracks plus 4 Recce Support T34/85 tanks. In CWC2 these recce support forces are whatever that unit is, in this case, tanks, but with the Recce ability. Artillery- 2 batteries of 3 152mm guns each, 1 battery of Katyusha rocket launchers Regimental Command element - CO, FAO, FAC. There was a pool of aircraft that woul...
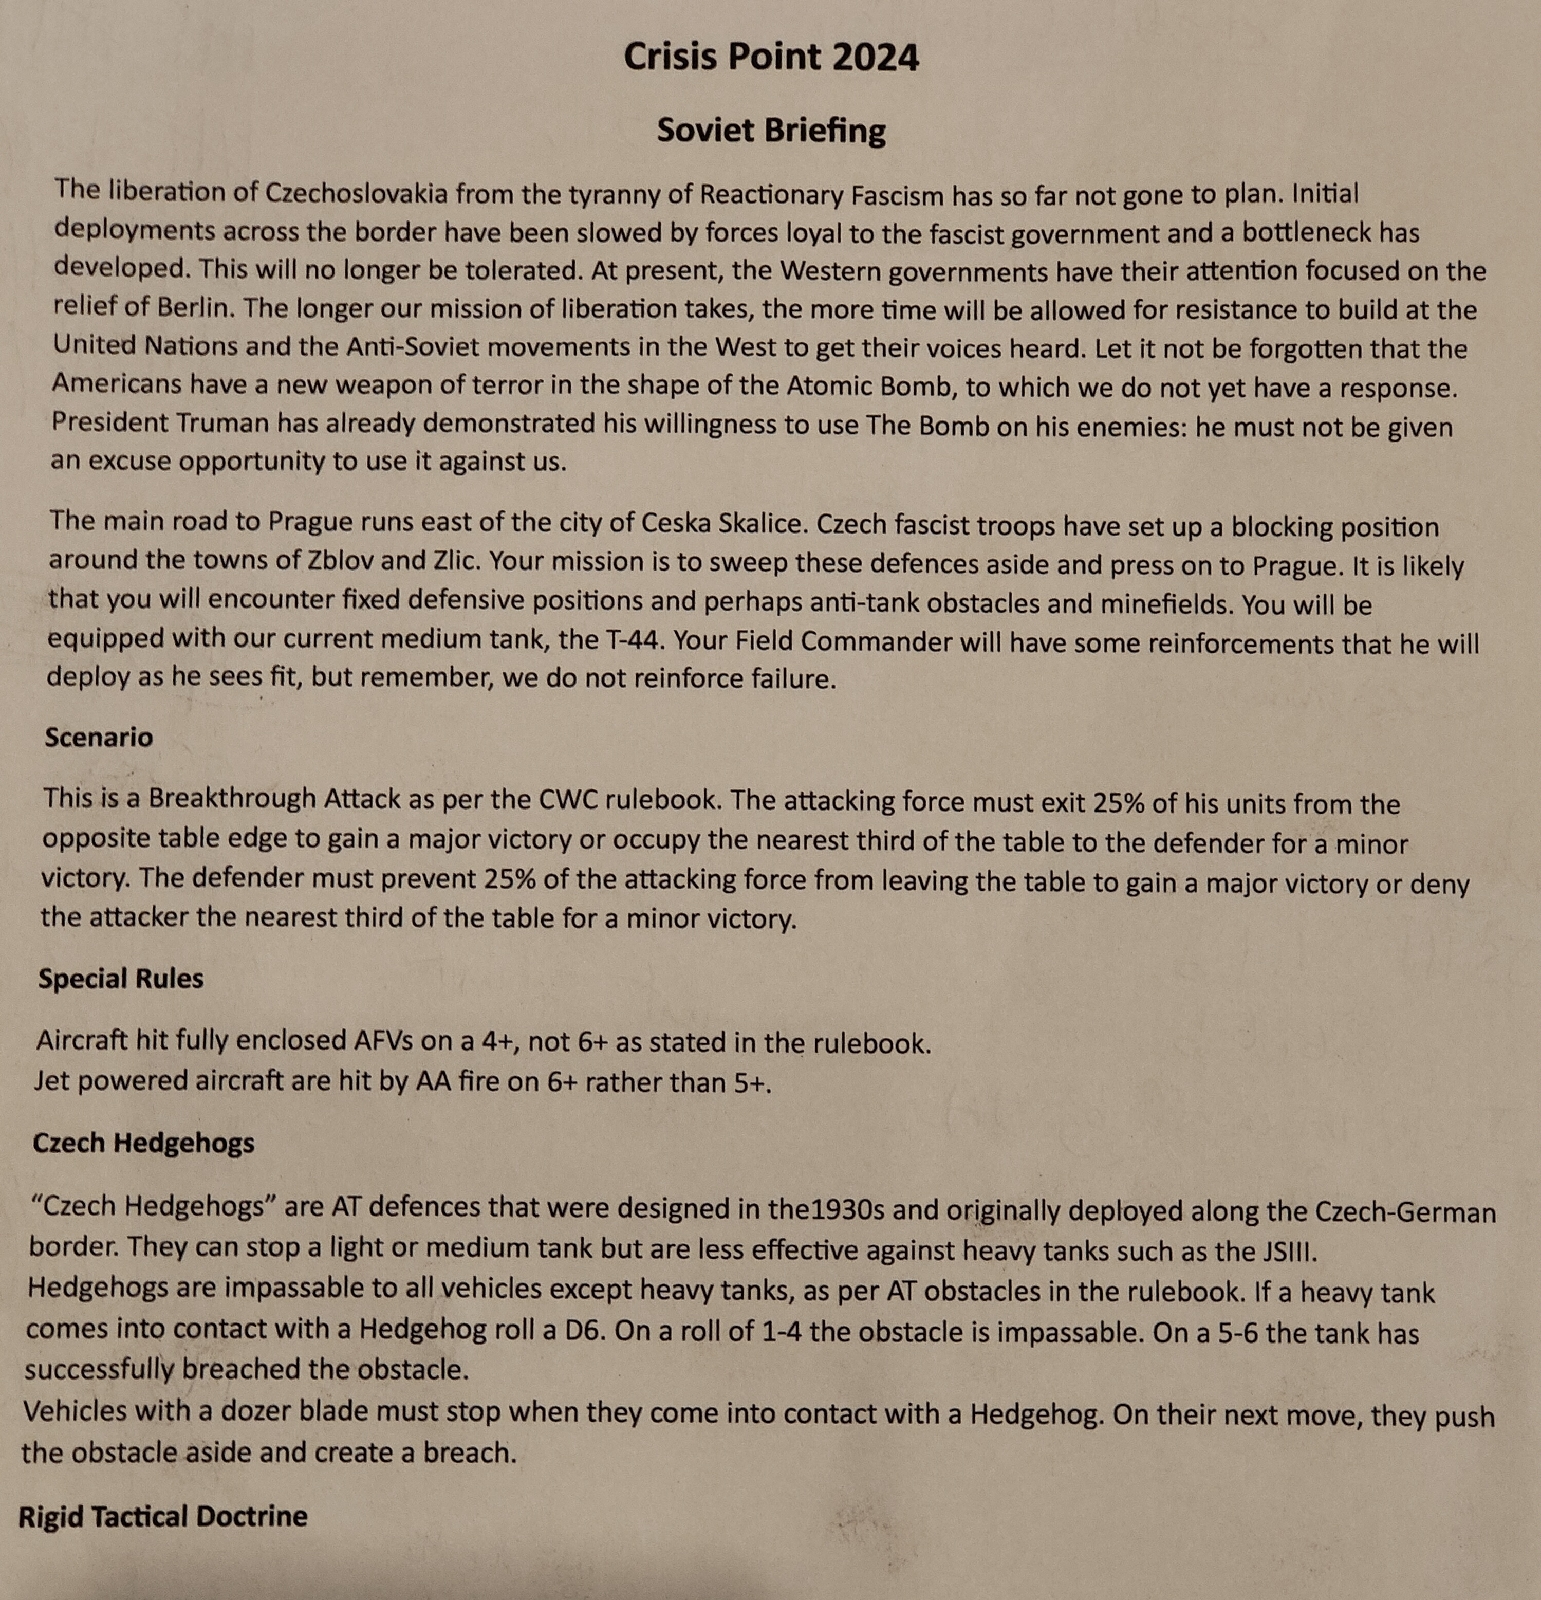
Initial briefing and scenario details The annual gaming meet up, hosted and curated by Richard Crawley, took place this weekend in the usual delightful environs of Dungworth, on the edge of the Peak District, west of Sheffield and east of the moon.. This year, the theme was an alternative history of the invasion of Czechoslovakia in 1948, following a failed Communist coup. There are better write ups of this scenario elsewhere- Andy Ts blog and Richard Crawley's blog have more background detail of the political and military situation of the Soviet reasoning behind the invasion. Suffice to say, myself and Andy were responsible for the CWC2 game, a move towards Prague by Soviet armour and mechanised infantry against a hasty defensive line of Czech forces in entrenched positions. Below is the Soviet briefing. There was a similar one prepared for the Czech defenders. And here is the initial sketch that I did for the scenario. ...

Comments
Post a Comment