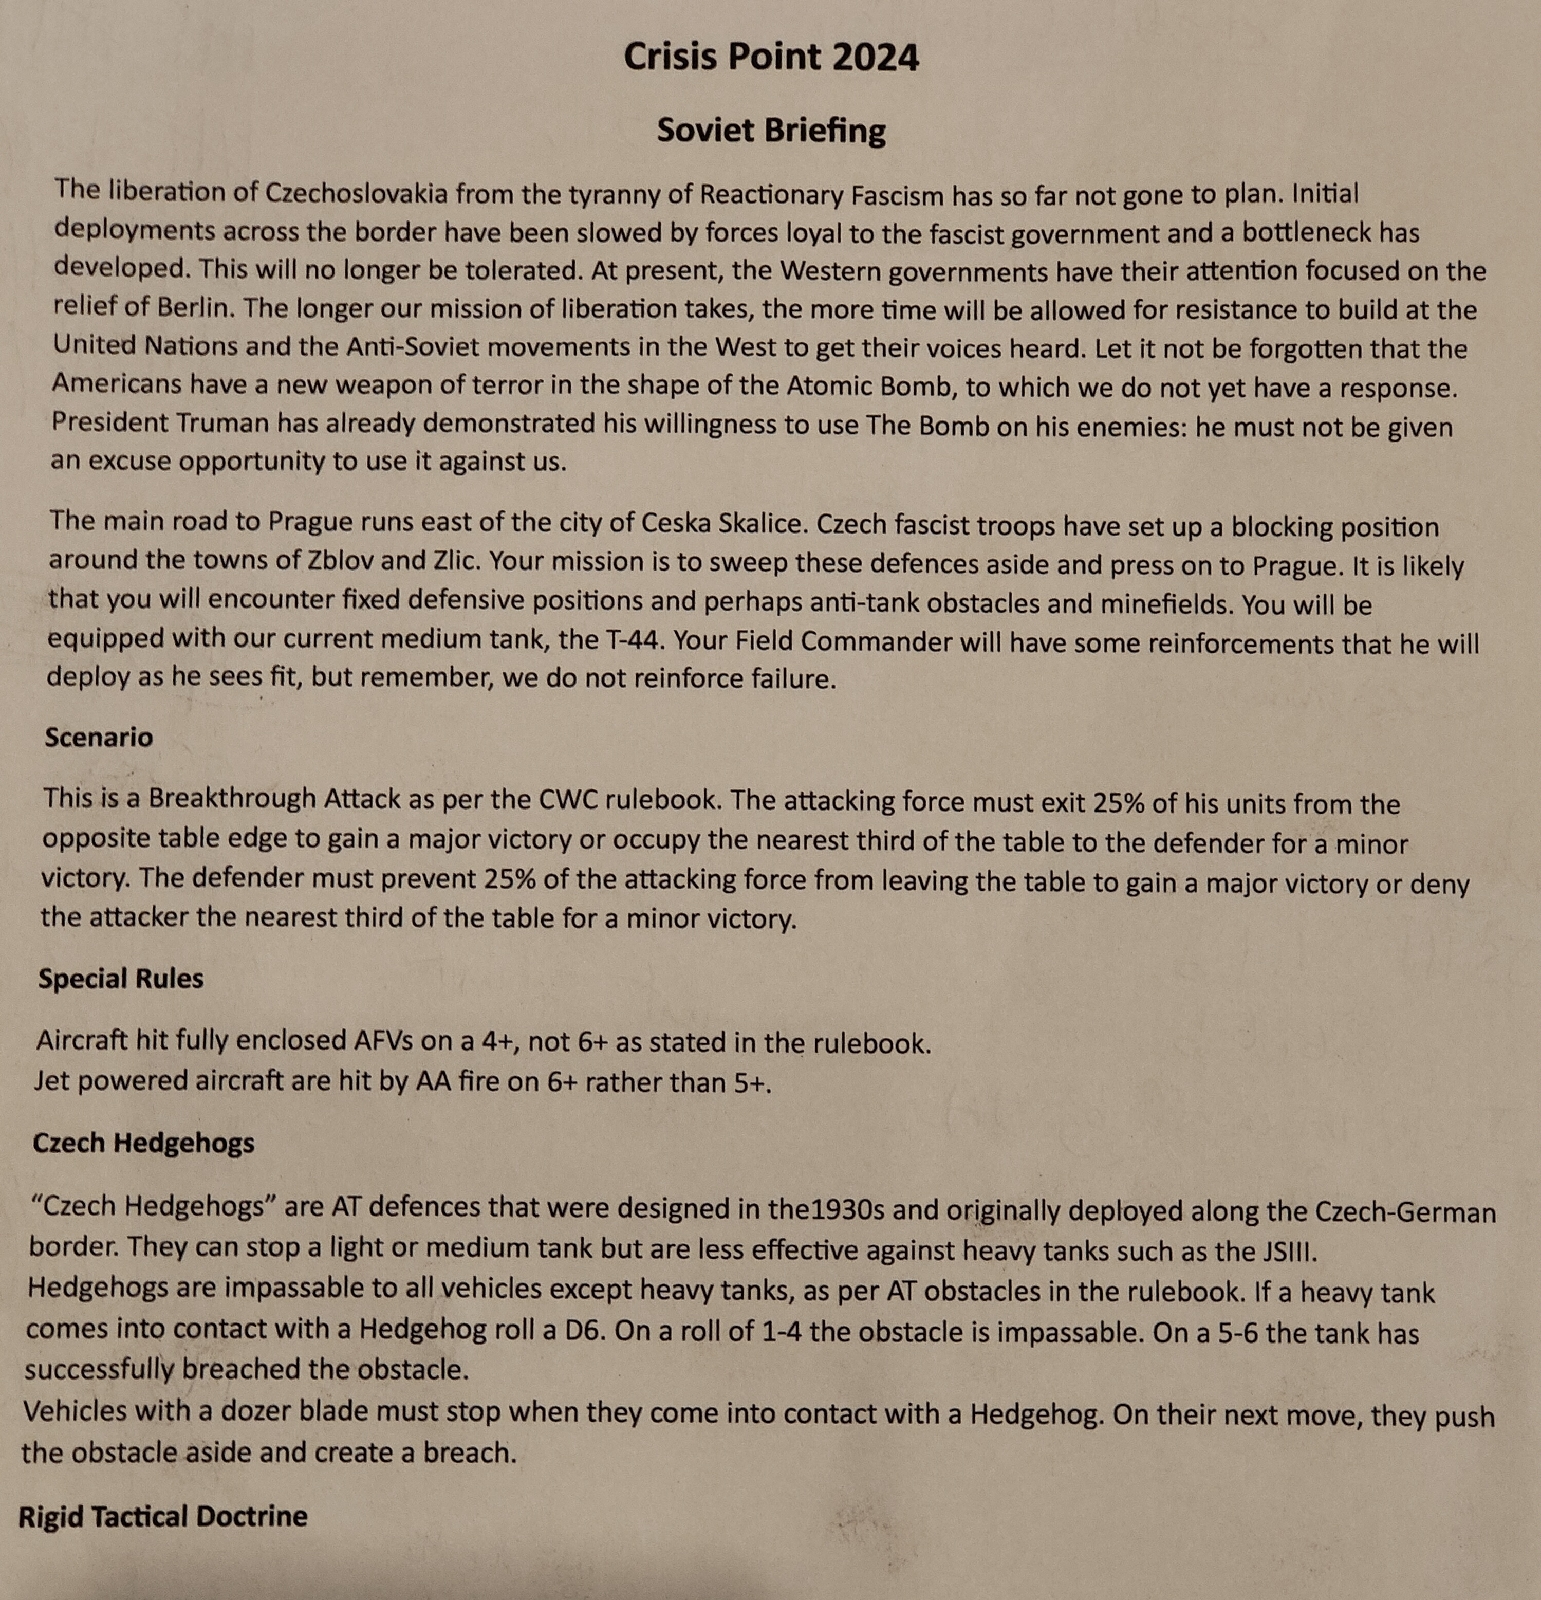
Seize the railhead- Khemed Campaign
After too long a break from gaming, family commitments keeping me from the CWC game in Grimsby and a lack of enthusiasm for painting, I decided that this half term would see me continue with the Khemed Invasion campaign I've been playing on and off this year.
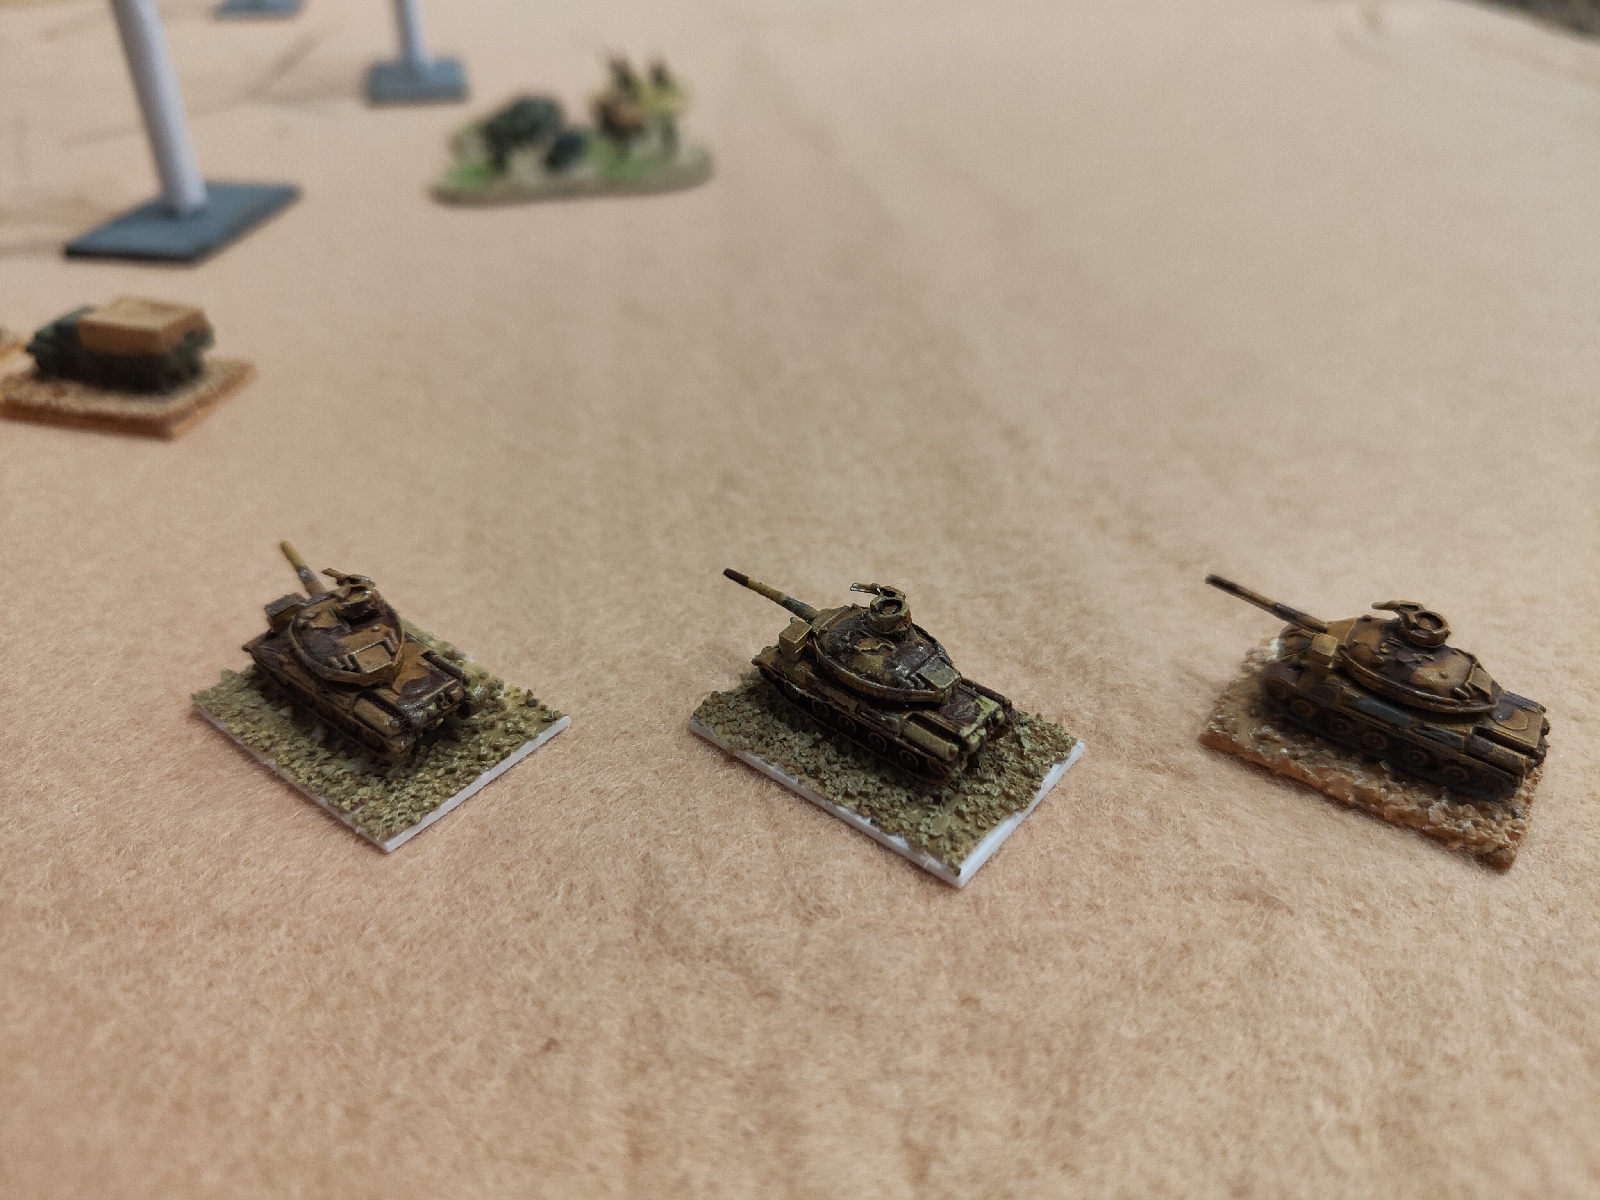 AMX30 Tanks roll towards the hill
 THE FAO and AMX30s prepare to do some business

The next game in the campaign was an encounter between mixed armour and infantry forces. I mixed up the terrain by placing a freight railhead on the table and making possession of that the objective for both sides.
Forces were as follows:
USMC
CO
HQ
FAO
30/4 3 infantry, 1 Javelin ATGW, 2 trucks
5/7 2 M1 Abrams
72 LAV-25 Recce
4/7 3 AAVP-7, 4 infantry, 1 81mm mortar
Off table artillery- 3 155mm guns, 3 105mm guns
Khemed
CO
HQ
FAO
ALERT 3 4 infantry, 2 trucks
9/15 2 T-55
11/15 2 infantry, 1 HMG
10/21 3 AMX-30
Off table artillery- 2 120mm mortars
Each element of both forces was given a number 1-6 and would enter on the roll of a D6. If that forces number had already been rolled, a single reroll could take place. This had quite an important effect on the game, as will be seen. Each force would then enter at a certain point on the table, again decided by a D6.
The first 2 turns were pretty brief: the Recce LAV-25 rolled in and took up position amongst the shipping containers, whilst the Khemed armour took up good firing positions on the crest of the hill. Some opportunity fire saw them take out one of the trucks of 30/4 along with its infantry
Return fire from the shaken Javelin team saw a T55 suppressed.
The ALERT 3 force entered and made its way to the base of the hill, ready to take up position. Both sides then had their CO and FAO enter in turn 3. The Marines FAO wasted no time in calling in the big guns and blasting the hill with the T55s. The solid armour of the workhorse tanks was once again up to the task and only one tank fell back a few cm. Ominously, no new American forces entered, whereas the AMX 30 tanks now joined the fray.
In turn 4 the US mech infantry in the AAVP-7's arrived, one was suppressed by tank fire, the Javelin shot back but could only damage the T55.
The Khemed FAO called in some 120mm mortar fire which knocked out an AAVP-7 and suppressed some infantry and the LAV-25. The AMX30s took up position on top of the second hill and then got a game changing bonus double 1! The gleeful gunners knocked out an AAVP-7, the LAV-25 and some infantry.
The T55 managed to suppress the Javelin team and the Khemed infantry took up position around their supporting armour.
By turn 6 the US position looked grim. Desperate calls were made for the Abrams of 5/7 to arrive but two dice rolls turned up nothing. In order to keep his remaining forces intact, the FAO called in a pretty reasonable fire mission, hitting the AMX30s and infantry with 155mm fire (which did minimal damage, knocking out a single infantry stand and suppressing a tank) and then calling in a second mission of 105mm fire laying down smoke in front of the AMX30s. The CO then withdrew the remaining infantry and transport.
The railhead objective was therefore in the hands of the Khemed forces and the Marines withdrew, no doubt looking for the hapless officer in charge of their armour with questions as to his map reading skills, honour and parentage...
The campaign will continue, I need to start factoring in the air support elements for each side also.

Great to see the Khemed Campaign up and running again. Interesting turn of events for the Western infidels!
ReplyDeleteInterest to see this mate. I’m very tempted to try something similar to get my 1990s Spanish Marines on the table.
ReplyDeleteThanks both, I think if you're willing to be d reality a bit and even up the forces, there's plenty of value in these games although I do think if the Abrams had turned up, it would have been a different story!
ReplyDelete