Battle at the Junction
This encounter took place in Area 2 on the map and saw a US force of armour, Infantry and towed artillery seeking to advance inland, pushing any forces back from the coast. The Marines were advancing across country in a tactical formation and would then form up into a road march order once they had secured the junction and the road north.
The Marines close assaulted one of the Infantry dug outs, knocking out the occupants and readying themselves to work along the row of entrenchments. The Khemed HQ now realising that an early dart could be on the cards, suddenly found his map and a functioning radio and made a series of brisk commands that saw the Alert 4 Infantry company withdraw in good order with their trucks along with the remaking HMG and Infantry stand from the hilltop. A tactical victory for the Marines, they hold the road and the route inland but it has been bought at a cost.
Marines
CO
HQ
2 M1 Abrams
Mech Infantry company- 3 AAVP7, 5 Infantry, 1 81mm mortar
155mm battery- 3 trucks, 3 guns
Recce platoon-1 LAV-25
Infantry company - 2 trucks 2 Infantry
Khemed
CO
HQ
FAO
Alert 4 scratch force - 4 Infantry, 4 trucks
11/15- 2 Infantry, 1 HMG, 2 trucks
20/15- 2 Infantry, 2 trucks
Off table- 3 152mm guns
They were to be met by a force of dug in infantry, with off table artillery support. The Khemed plan was to remain dug in and hidden, only exposing themselves to fire and then hopefully withdraw, causing as many casualties as possible before withdrawing to fight again, hopefully with reinforcements.
View from the US entry point
The first Khemed force of 3 Infantry were dug in on the large hill in front of the wind turbines. Their trucks were in cover on the far side of the hill, engines idling... The rest of the battle group was dug in at the second hill in the distance, with the (vital, as it turned out) FAO in a dug out at the top of the hill. The Marines entered the table in line abreast in the foreground.
The Marines response was not without disorder - the Infantry company in the AAVP7's dismounted and returned fire, suppressing the Infantry, but when the battery of 155mms were ordered to unlimber the HQ blundered, fortunately only taking an unsuppressed hit on the table. The CO took charge on the battalion net and ordered the Abrams to open fire, knocking out one bunker and causing the second Infantry stand to fall back. In response, the Khemed FAO called in some of their off-table artillery, which wrought havoc on the mech Infantry company- they lost 3 of their 5 Infantry, their mortar and the 155mm battery lost a gun and a truck. The Marines HQ was also caught in the barrage and destroyed.
The Khemed HQ attempted to order the remaining Infantry platoon to fall back in their truck before the hill was overrun, but the orders failed to get through. The CO took over and the 2 trucks raced back towards friendly lines. The empty truck was spotted by one of the Abrams and picked off with ease. Scant consolation for the Marines own losses.
Turn 2
The Marines were ordered to secure the hill and the Abrams advanced in support. The Khemed FAO once again successfully called in artillery, however it fell short and only rattled the armour of the lead Marines tank.
Turn 3
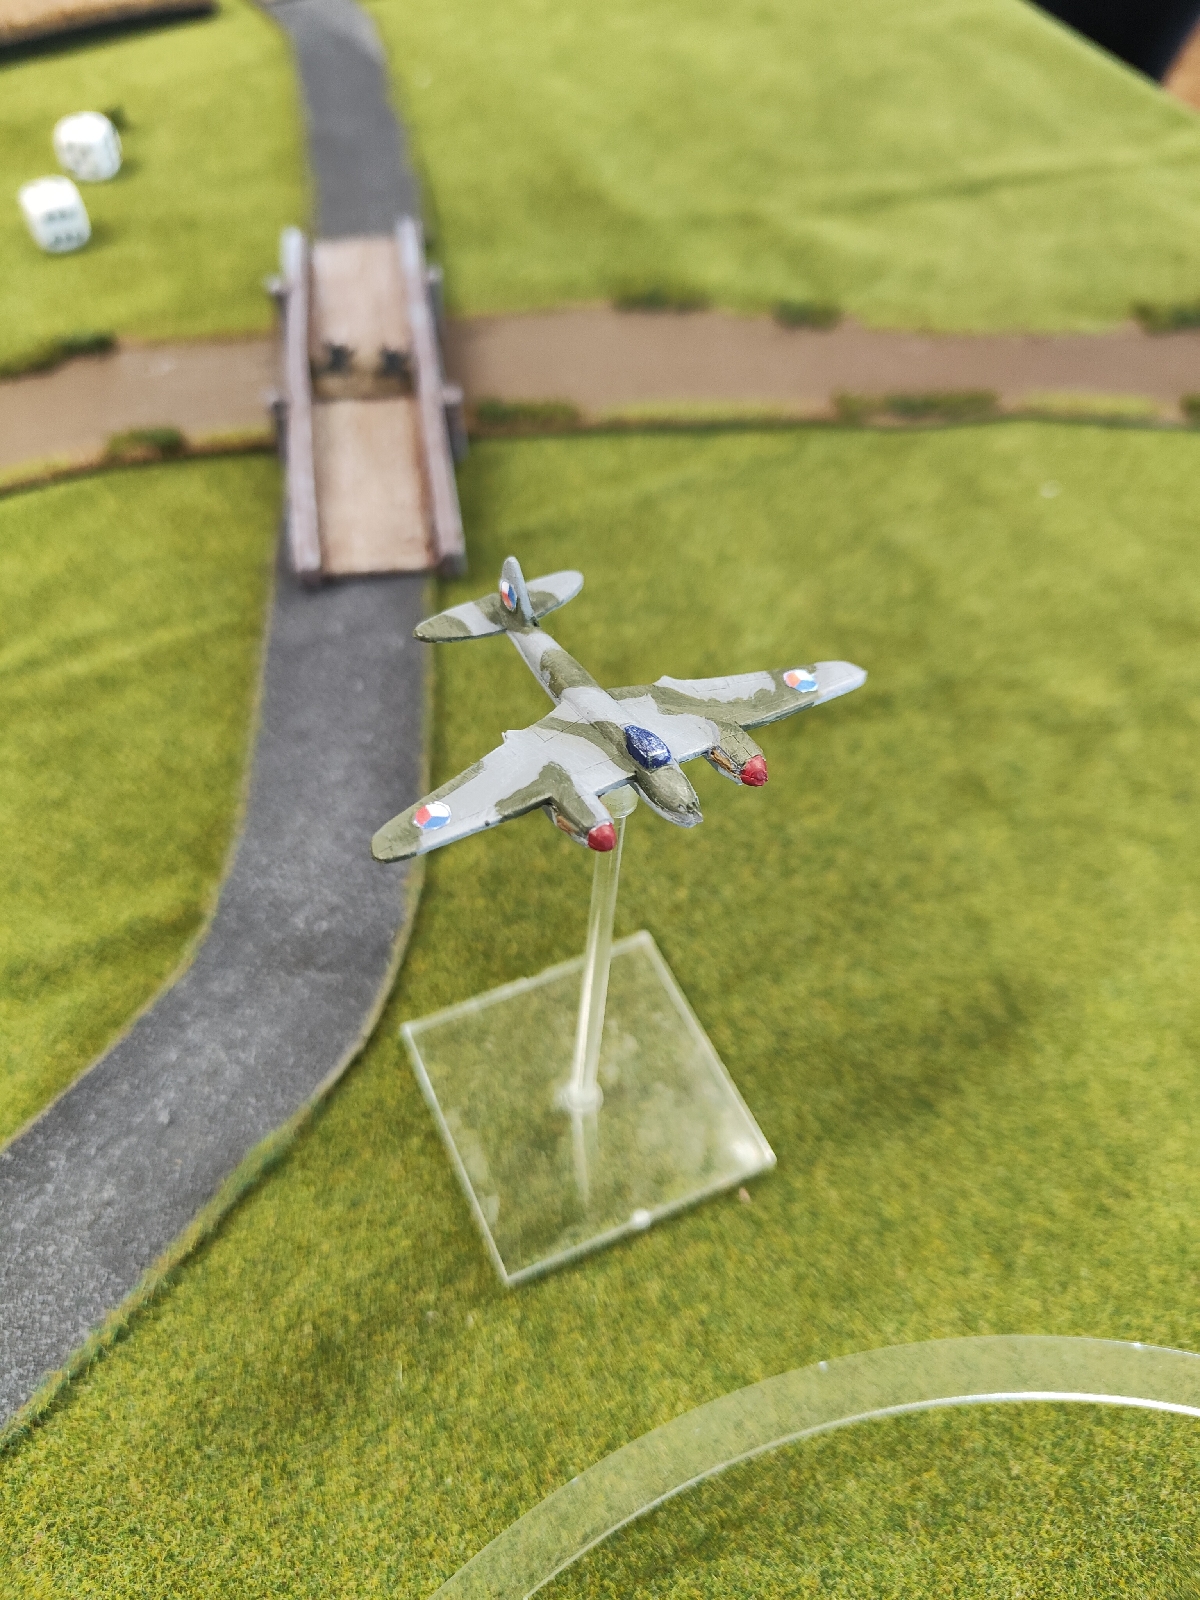
The Marines FAC called in some air support. I rolled on the table I created to randomise what support they get and two F18s with Precision Guided Munitions rolled in. (I can't find any stats for the F18 in the CWC rulebook so I use the stats for the Phantom?) they targeted the only available option, the fleeing truck, which was destroyed with ease. 24 attack dice, 10 hits. The AAVP7s advanced and took the hill, the Marines on the right flank were ordered forward before the Marines HQ again failed. The CO ordered the 155mm battery to limber up and advance to support the assault on what they suspected would be a second defensive position, the hill beyond. The Khemed artillery once again fired, suppressing the mech Infantry on the hill along with the AAVP7s.
Turn 4
The Abrams charged towards the next hill. As they closed to within 20cm, they now identified the remaining dug in positions. The Infantry used Opportunity Fire to unleash a hail of RPG's, causing both tanks to become suppressed. The CO ordered the 155mms to unlimber and fire over open sights on the hill.
A command bonus saw the right flank Marines Infantry advance to support the armour as the FAC called in more air support, this time an AV-8 with mk.82 iron bombs. However, this only knocked out a single truck.
The closing armour and air strike rattled the Khemed HQ who promptly failed his first roll so the CO ordered the Infantry of the Alert 4 unit dug in at the base of the hill to withdraw to their trucks and effect a withdrawal from the battlefield, to be covered by the 2 remaining dug in Infantry and HMG of unit 11/15.
Turn 5
The US FAC called in more air support to soften up the Khemed forces on the hill, however there was some confusion on the battalion net and a Scan Eagle UAV was soon pootling over the position. This house rule does however give all US forces a +1 to their CVs for that turn, owing to the increased situational awareness it provides.
A cracking game, this time the Marines made good use of air support and artillery, which was, unusually, on the table. This was on account of the force as a whole advancing across open country and not assaulting a known position. The Abrams were their usual bullet magnets, and were key to the victory, drawing fire and providing useful fire support, suppressing Infantry in their bunkers. If I get a chance, I will fight the next battle on the table, an assault on a town with 2 mixed forces of armour and Infantry facing off. Might allocate the AC130 as air support to this one.


Excellent AAR as always Mr M. Like the UAV rule with the +1. Would the UAV only be available for one turn?
ReplyDeleteCheers, Richard P